

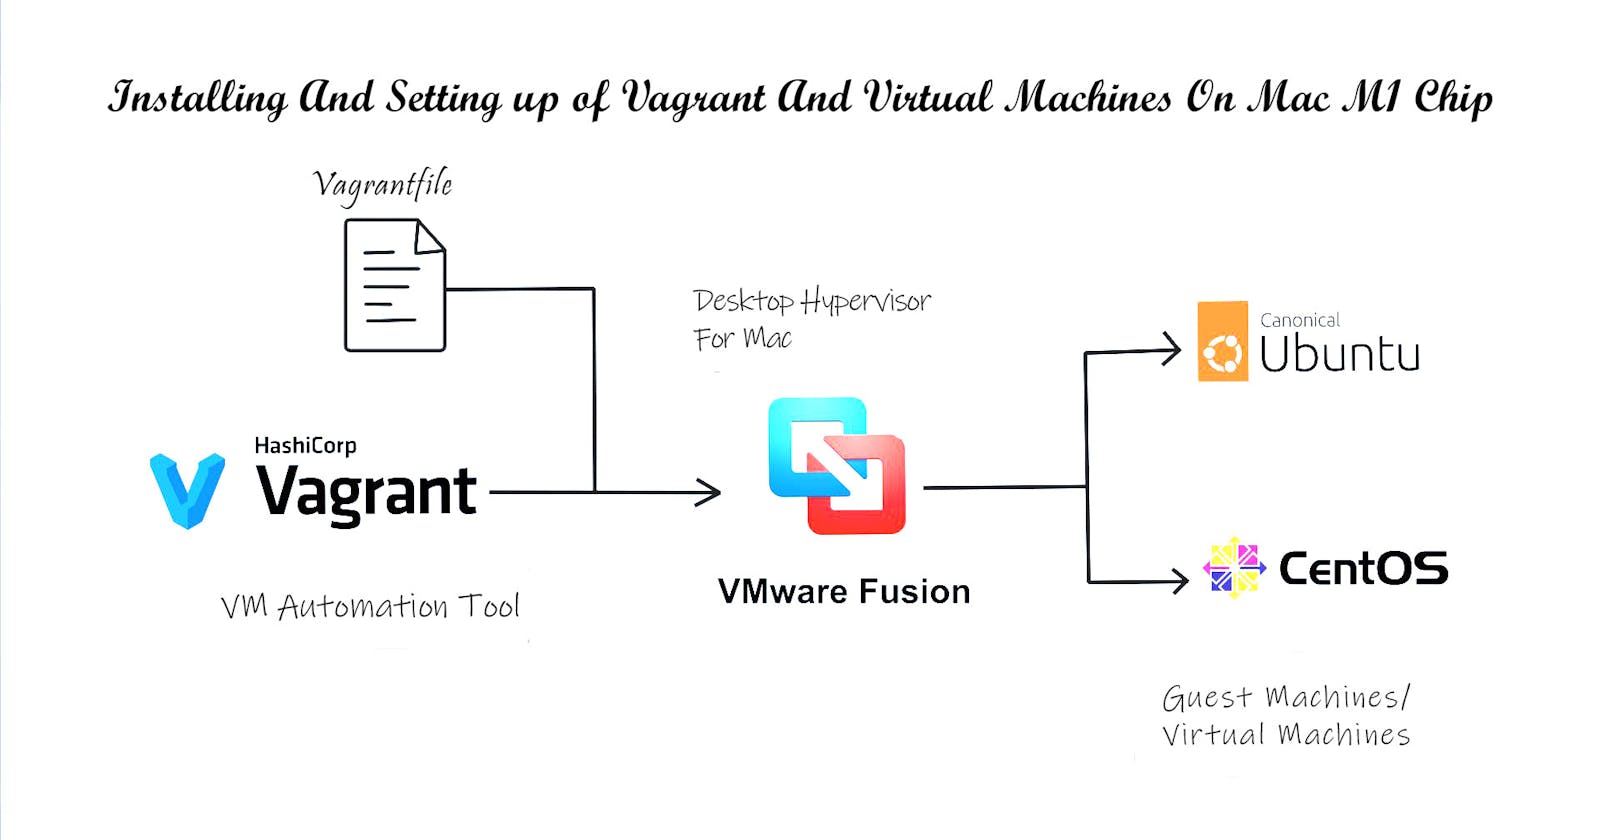


While I was installing Vagrant and setting up Virtual Machines for CentOs7 and Ubuntu, I came across different issues in setting up the virtual machines on my M1 machine. This article is to show you the step-by-step guide on how to install and set up Vagrant and install any Virtual Machine on your Mac M1 chip.
First, make sure you have Homebrew on your Mac. Homebrew is a free and open-source software package management system that simplifies the installation of software on Apple's operating system, macOS, as well as Linux.
If you have Homebrew you can continue from the next step. If not,
Install VMware Fusion on an Apple M1/M2 chip-based Mac machine
Go to the VMware Customer Connect registration page and fill in the required details. Confirm your email address to ensure the proper activation of your profile.
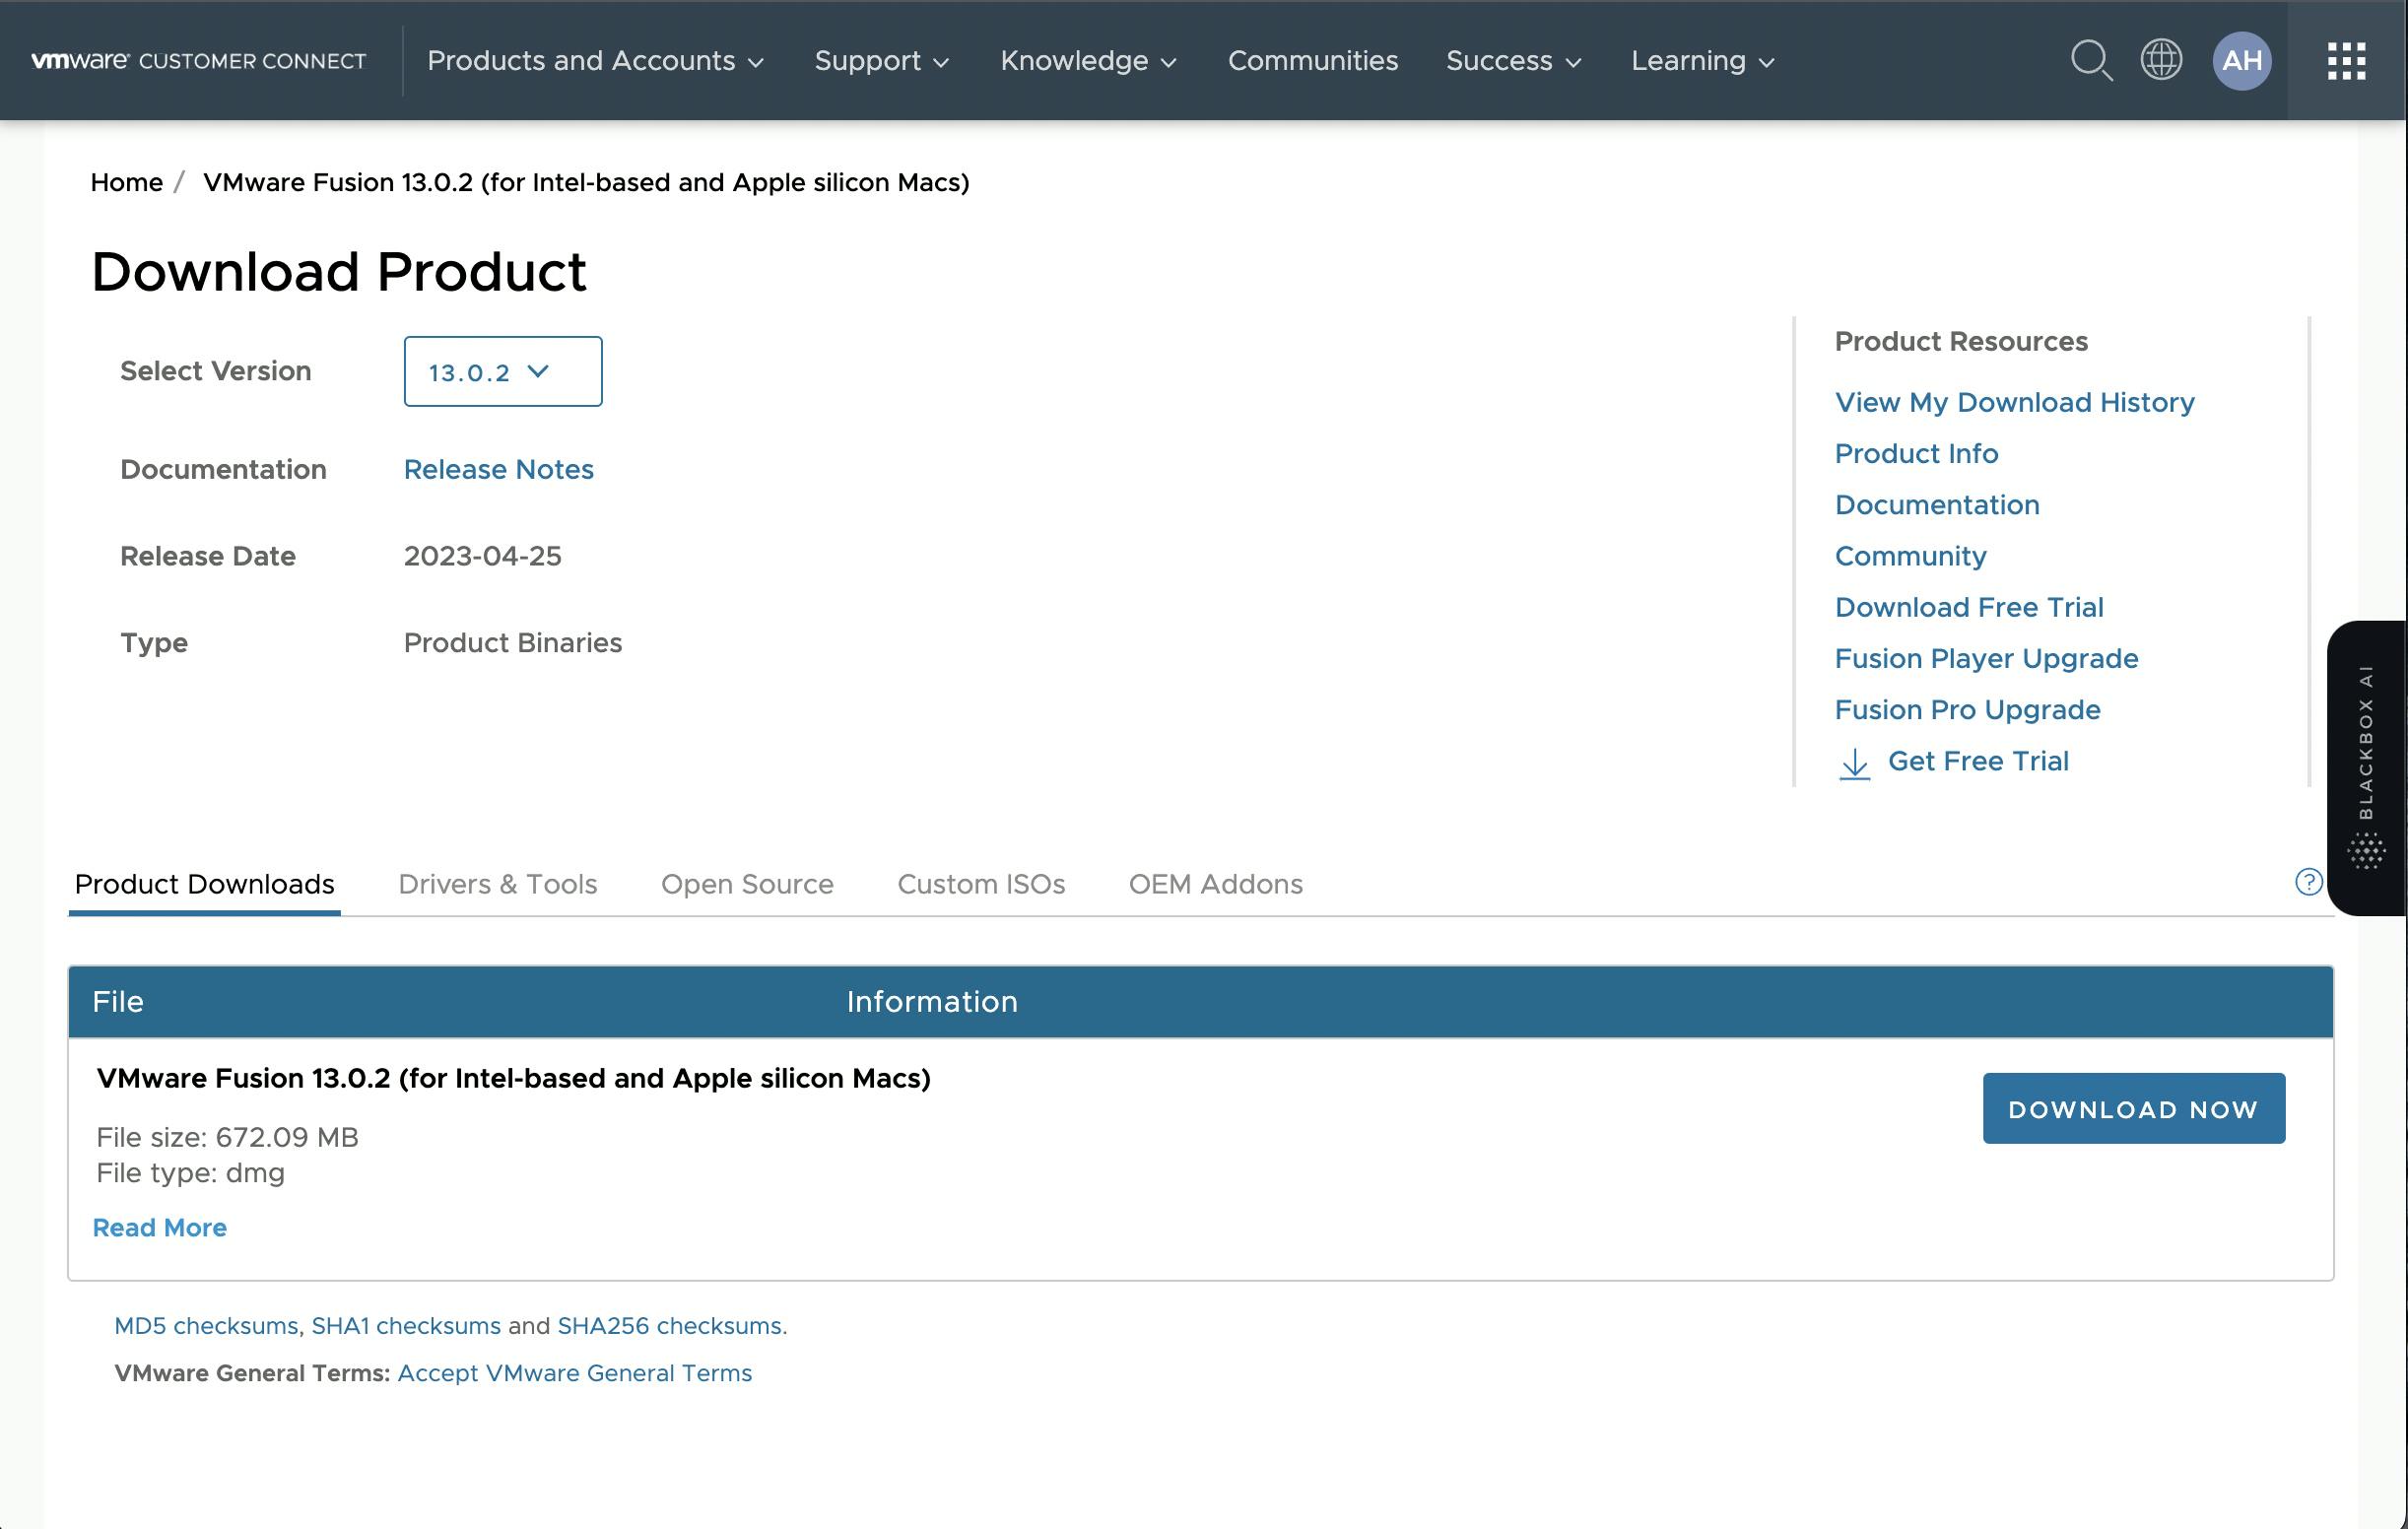
Go to the VMware Fusion downloads page and choose the latest version to download the VMware Fusion. If prompted, log in to your VMware Customer Connect profile. If you do not have a profile, please create one.
Open the Finder app and navigate to the Downloads directory on your Mac Machine.
Open the VMware Fusion package, then double-click the icon and follow the onscreen instructions to install it into your machine.
During the installation process, a license key prompt appears. You'll find a Get a Free License Key button. Simply click the button to obtain the personal use license key and complete the installation.
Install Vagrant and its plugins on Apple M1chip
Vagrant is a tool for building and managing virtual machine environments in a single workflow”
#Install using Homebrew
$ brew cask install vagrant
Install manually on your M1 Machine
Download the Vagrant package.
Open the Finder app and navigate to the Downloads directory on your Mac machine.
Open the Vagrant package, then double-click the icon and follow the onscreen instructions.
Check the version using the command below
# Check Vagrant Version
$ sudo vagrant --version
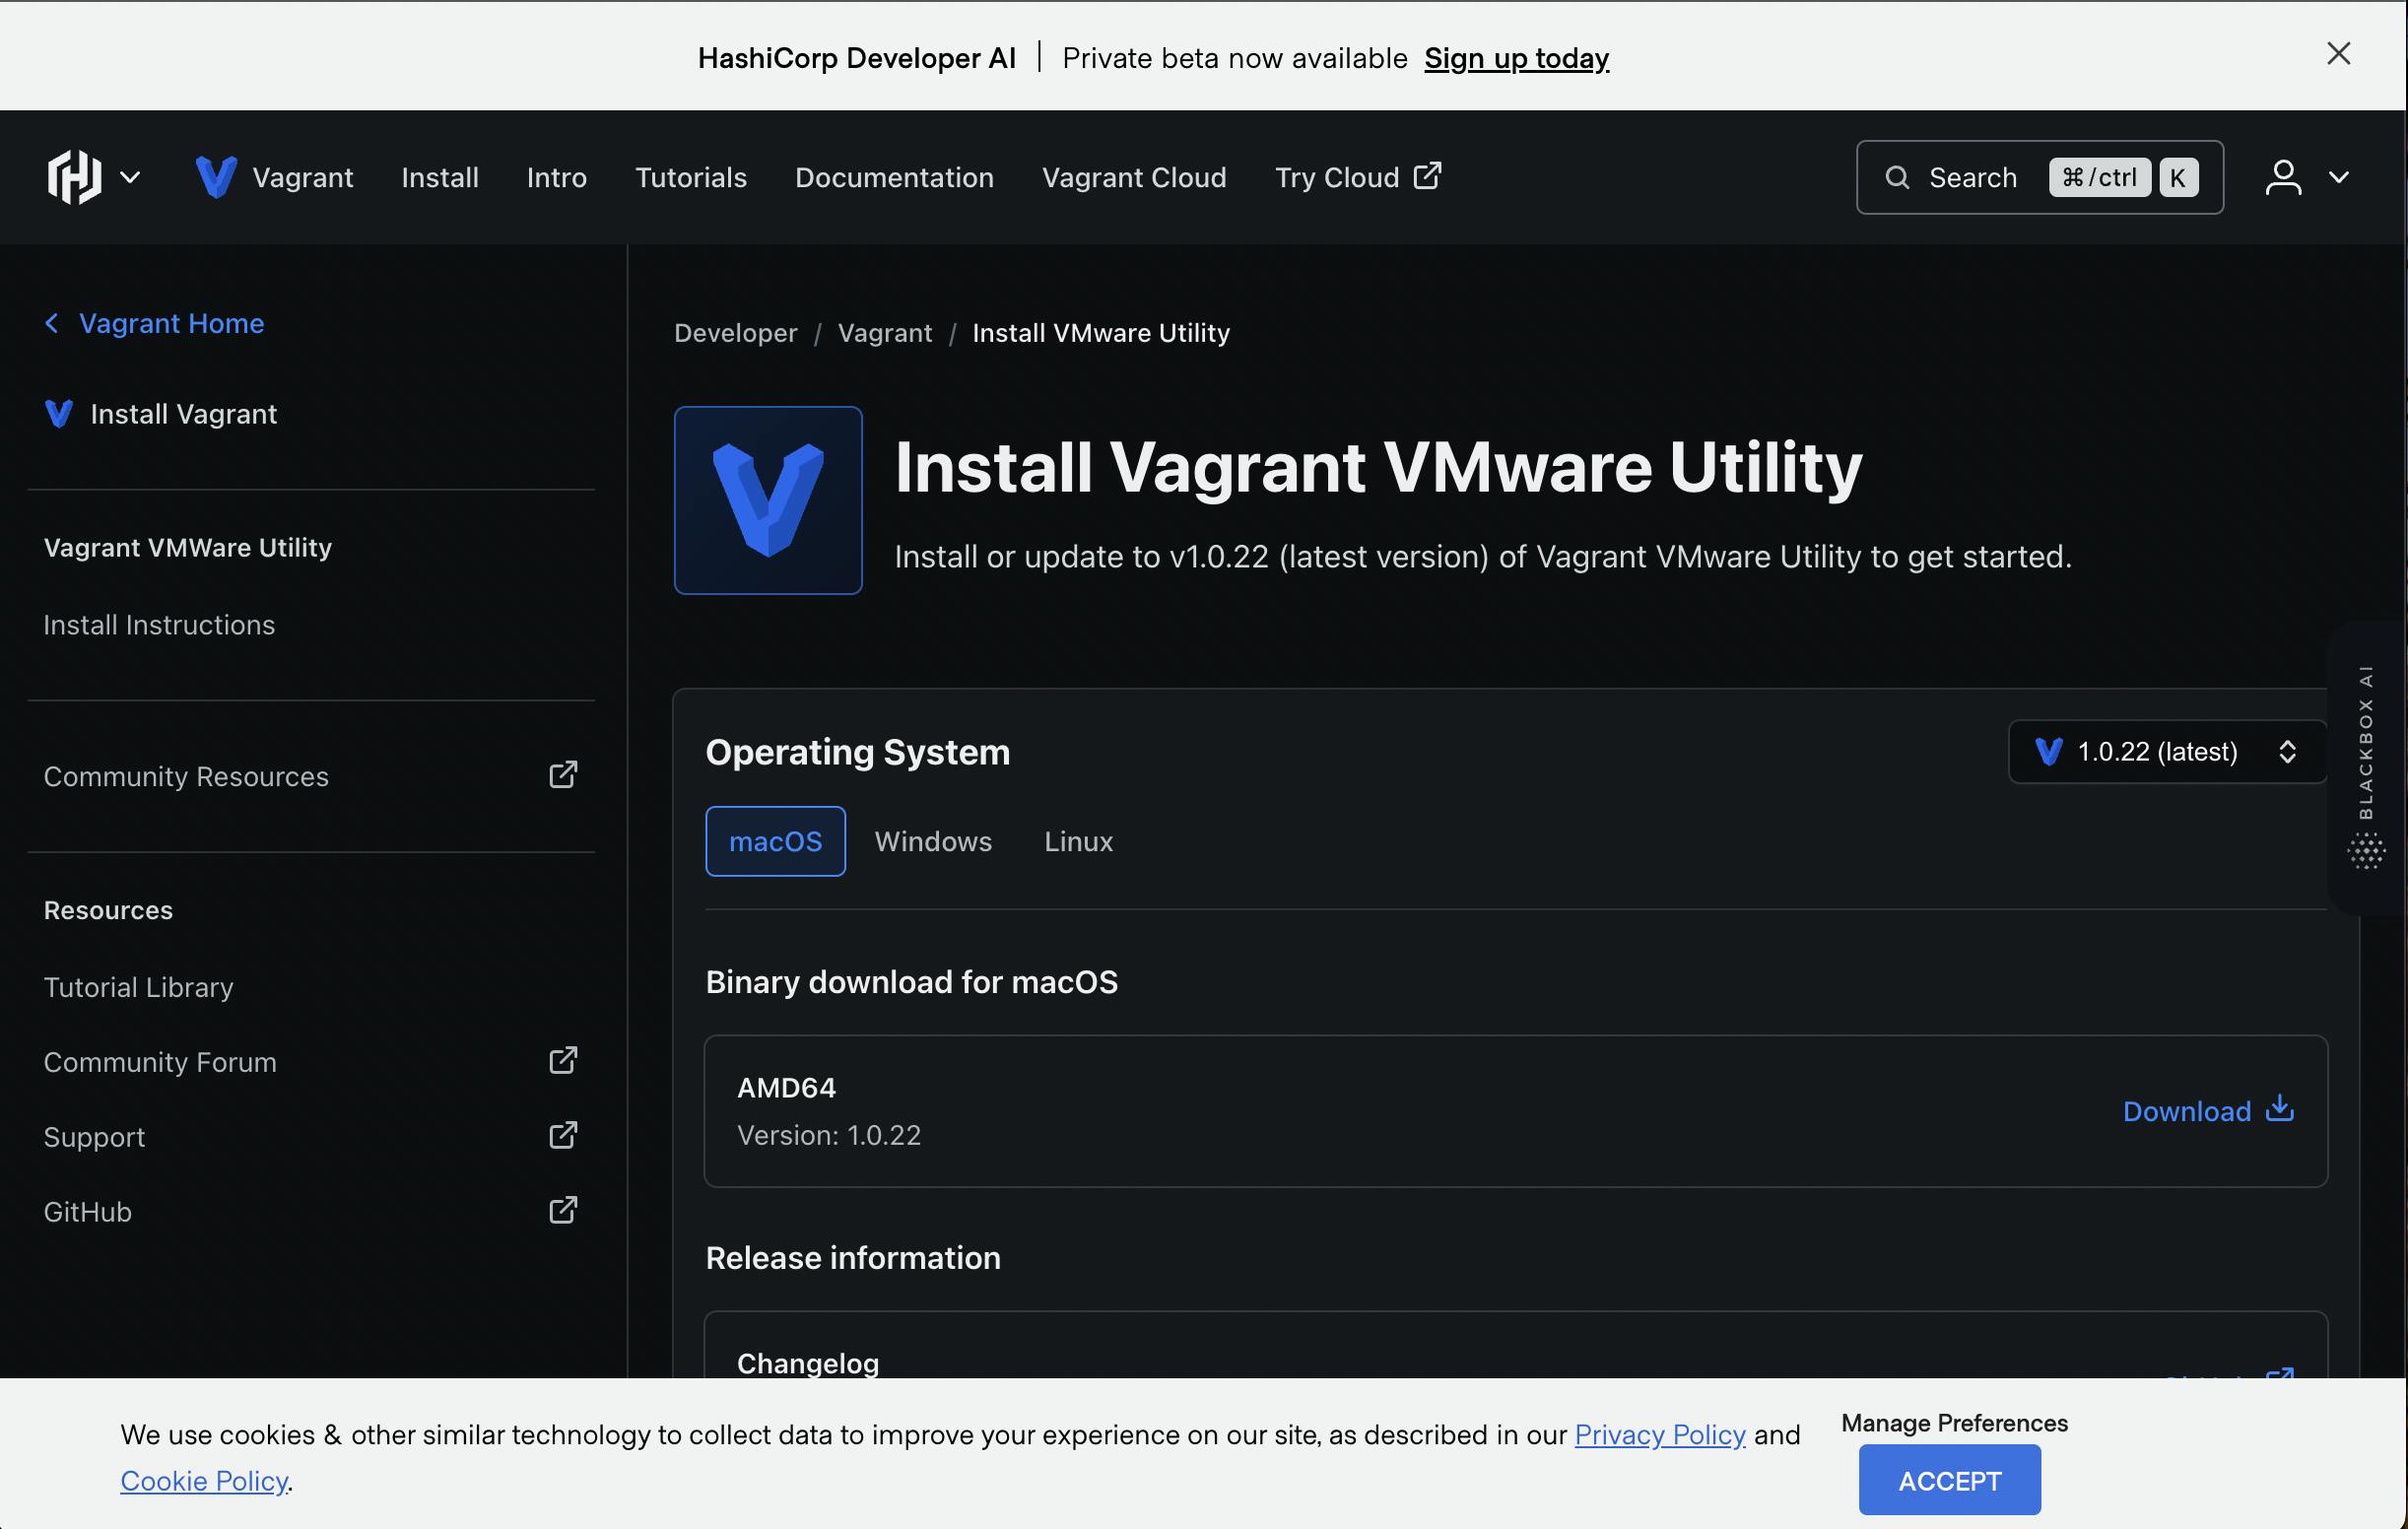
Install Vagrant VMware utility on a Mac machine
Download the Vagrant VMware utility package.
Open the Finder app and navigate to the Downloads directory on your Mac machine.
Open the Vagrant VMware utility package, then double-click the icon and follow the onscreen instructions.
Install The Vagrant Manager On the M1 Machine
Install the Vagrant Manager, as it allows us to manage all VMs from one console
#Install Vagrant-Manager
$ brew cask install vagrant-manager
Install the Vagrant VMware provider plugin on a Mac machine
To run the mentioned commands, you need to open the Terminal application, which is the default command-line interface for macOS.
# Install VMware provider plugin for Vagrant.
$ sudo vagrant plugin install vagrant-vmware-desktop
Setup and manage VMs on Mac machines using VMware Fusion and Vagrant
To successfully create Vagrantfiles and run VMS on your M1 Machine after installing Vagrant, VMware Fusion
Create a directory where you want to run your vagrant file
$ mkdir vmsChange the directory to the newly created
$ cd vmsWhen you're in the directory you run the following command
$ vagrant init <box-name>Example:
$ vagrant init gyptazy/centos9-arm64The above command creates a vagrant file in the directory. You can obtain more Vagrant Boxes from the Vagrant Cloud.
After a file named Vagrantfile has been placed in the current directory, which contains the configuration params. Start the VM using:
$ vagrant up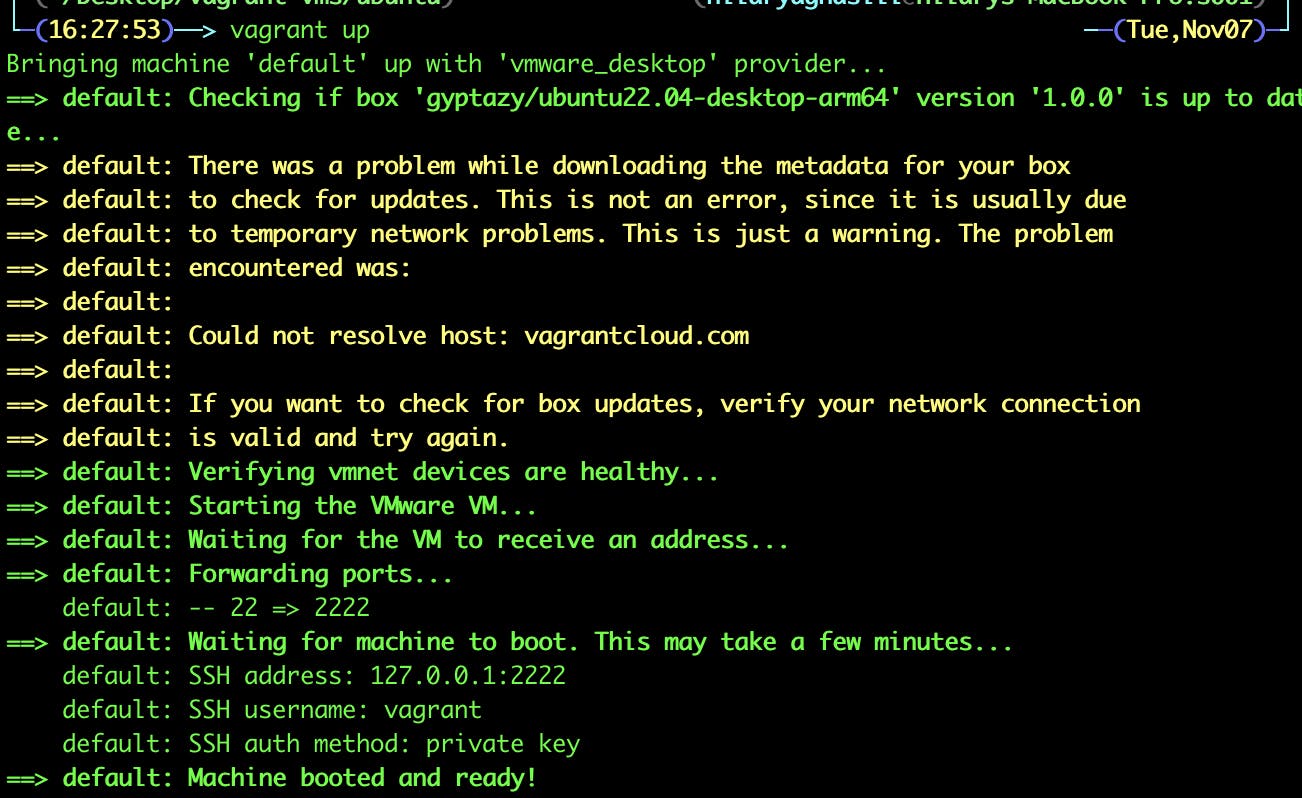
Log in to the VM using:
$ vagrant ssh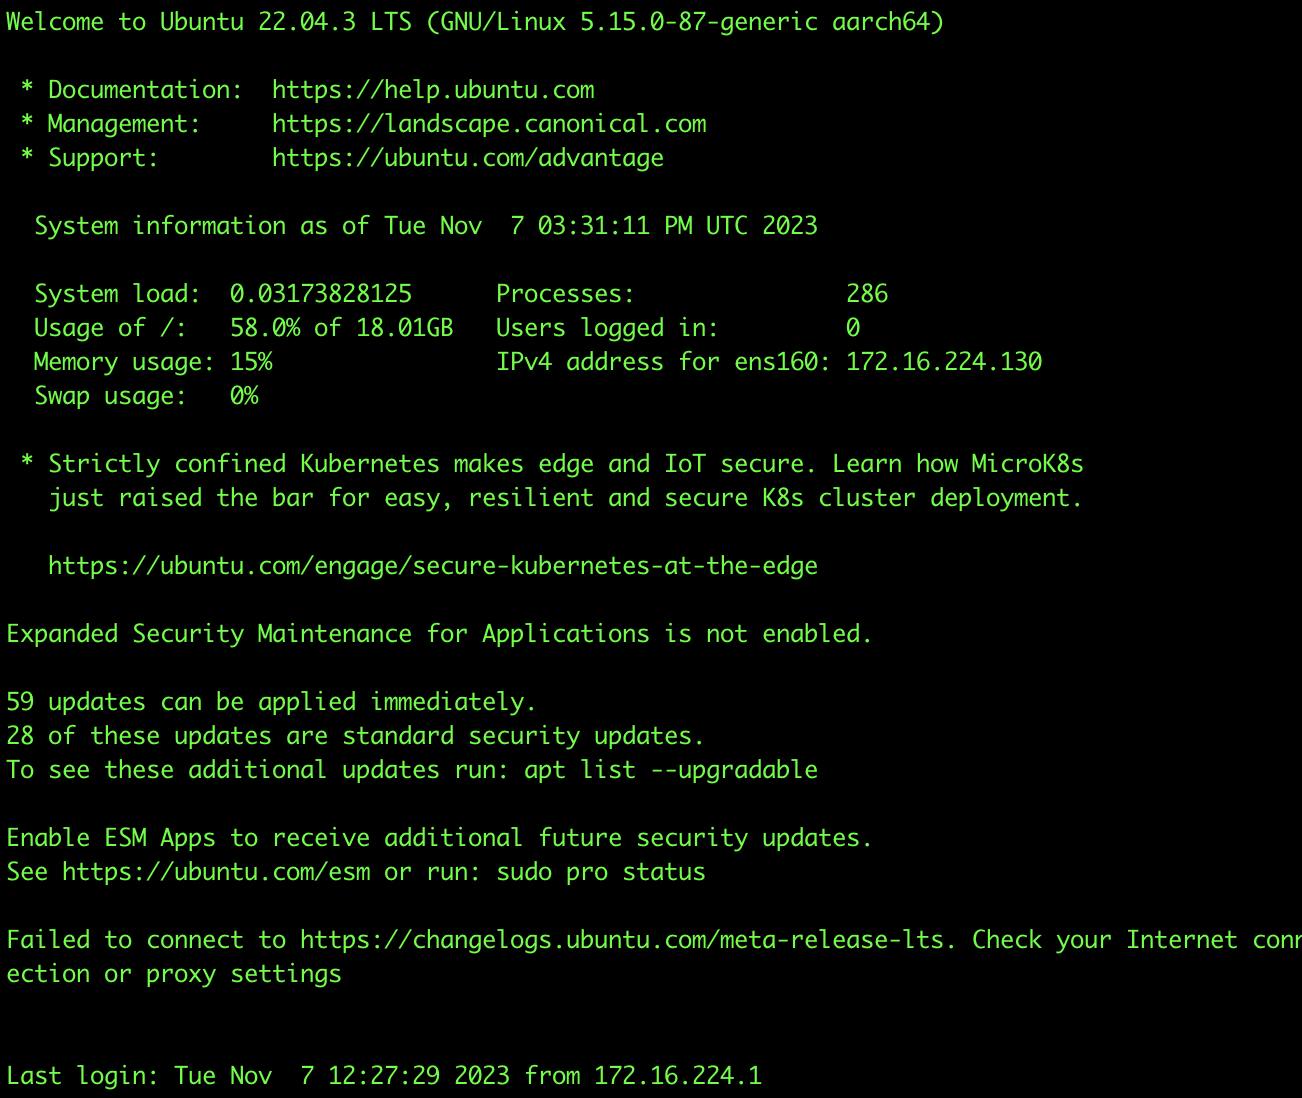
You can also go to the Vagrant Manager to manage the VMs running. You can perform various operations using the manager.
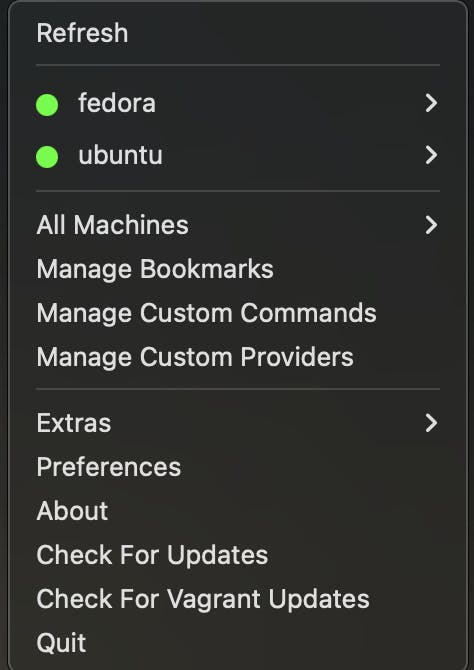
Manage VMs On M1 Machines Using VMware Fusion & Vagrant
You can halt, suspend and destroy VMs by using the following commands
Destroying the virtual machine by calling
vagrant destroywill remove all traces of the guest machine from your system. It'll stop the guest machine, power it down, and remove all of the guest's hard disks.$ vagrant destroySuspending the virtual machine by calling
vagrant suspendwill save the current running state of the machine and stop it.$ vagrant suspendHalting the virtual machine by calling
vagrant haltwill shut down the guest operating system and power down the guest machine.$ vagrant haltReloading the virtual machine by calling
vagrant reloadwill reload the guest operating system and apply changes if necessary.$ vagrant reloadYou can also check other commands from the Vagrant command line.